Choosing the right iso for landscape photography
Today i’m talking about choosing the right iso settings for landscape photography and why it is so important for getting sharp photos. There's also a little money saving tip too.
So briefly,
What is ISO ?
ISO controls your cameras sensor sensitivity to light. The higher the ISO, the more sensitive the sensor is, the lower the iso, the less sensitive the sensor is to light. Increasing the iso will amplify the gain of the sensor which will add digital noise to an image. So generally speaking, keeping the ISO as low as possible is what we are looking for in landscape photography. The lower the ISO the cleaner the image will be.
So with this in mind, why increase it at all?
Well, there are several reasons why we should increase the ISO. Generally speaking, it is to control motion in one way or another.
Shooting handheld
So firstly and probably the most obvious is when we are shooting handheld. If we are not using a tripod we will introduce camera shake to our image if the shutter speed is not fast enough. As a rule of thumb, your shutter will need to be at least equal to the focal length of your lens to control the shake. I like to go a little beyond this, but it will depend on how steady your hands are. Just do a little experimenting and you will find out. So a 200mm focal length will require a shutter speed of at least 1/200th of a second. This shot was at 1/60 sec and you can see the shake in the image.
Now generally for landscape photography, I select my aperture as one of the first steps of composing my shot. This will be set depending on the depth of field required. So say I'm shooting at f8 to make sure I can get my scene nice and sharp, I now only have one other way in which to control my shutter speed to get a balanced exposure with my camera settings and that would be with my ISO. The higher I increase the ISO the faster the shutter speed will be needed to get the correct exposure. The higher the ISO the more sensitive the sensor is to light meaning the time required for the shutter to be open will be less, the quicker the shutter, the less camera shake.
EG - For this particular shot with a focal length of 200mm at f8, to gain a 1/200 sec shutter speed I needed iso 800
I always say it's better to have a noisy image than a blurred image, at least you can reduce noise in post-production, you cannot correct camera shake.
Some cameras and lenses offer image stabilization which will help in this regard, They allow you to shoot at lower shutter speeds than the rule of thumb mentioned above. Focal length = shutter speed.
Using ISO to control motion blur
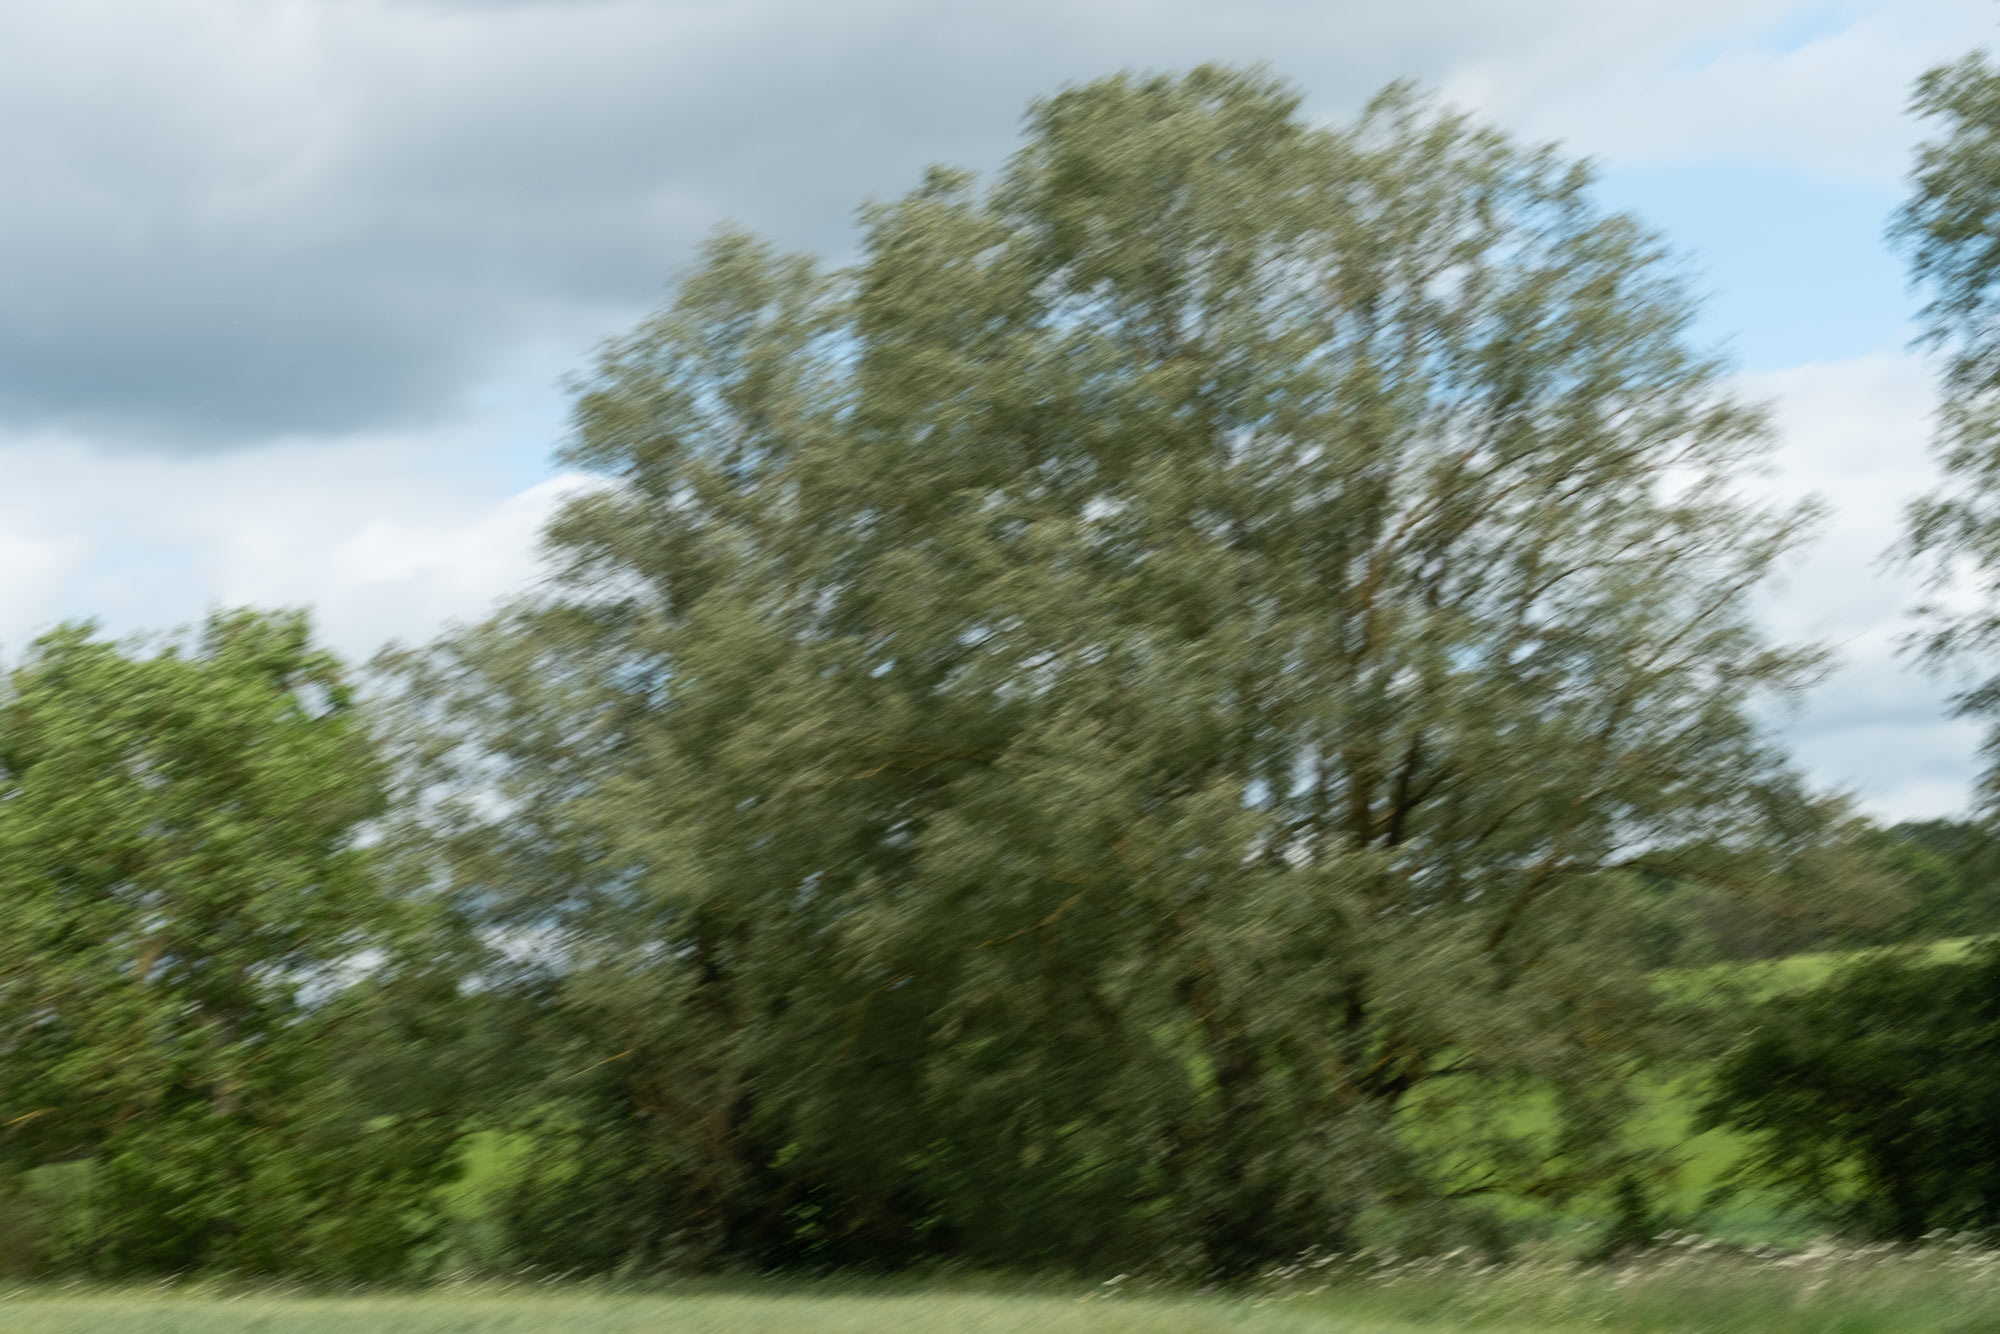
Secondly, we can use ISO to control motion blur from a creative point of view. Quite often with a landscape photography shot, we are faced with the challenges of wind.
Wind will obviously move grasses, trees and the like. It can move the camera too if it's strong enough, even if we have it locked on a tripod. So again we can increase our ISO to get a fast enough shutter speed to be able to freeze that motion.
Experimenting here will be the way to go as it will depend on the amount of motion that you are trying to freeze.
Take this shot of some Barley for example, I have chosen an aperture of f11 to get my subject sharp from front to back, but my shutter speed is only 1/30th of a second with my iso at its lowest - iso 200.
Look at the motion we are capturing in the grass, this may be the look we are going for, but we might also like to eradicate that motion. So we will just need to increase our ISO which will, in turn, increase our shutter speed. Now we are at 1/125th sec and that motion is now frozen.
Getting creative with motion blur
So from a creative point of view, we might also like to introduce motion into our photographs, moving water is a great example of this. Here we have 2 shots of 2 different waterfalls, one shot at 1/4 second and the other shot at 2 seconds. The difference is very apparent.
Save money with ISO
So this brings me onto my little money saving tip, Quite often to gain a slow enough shutter speed for adding creative movement to the water we will need to introduce a filter to control the amount of light entering the camera. Filters are measured in the number of stops of light that they will reduce.
A stop of light is a universal measurement that can be applied to the aperture, shutter and ISO.
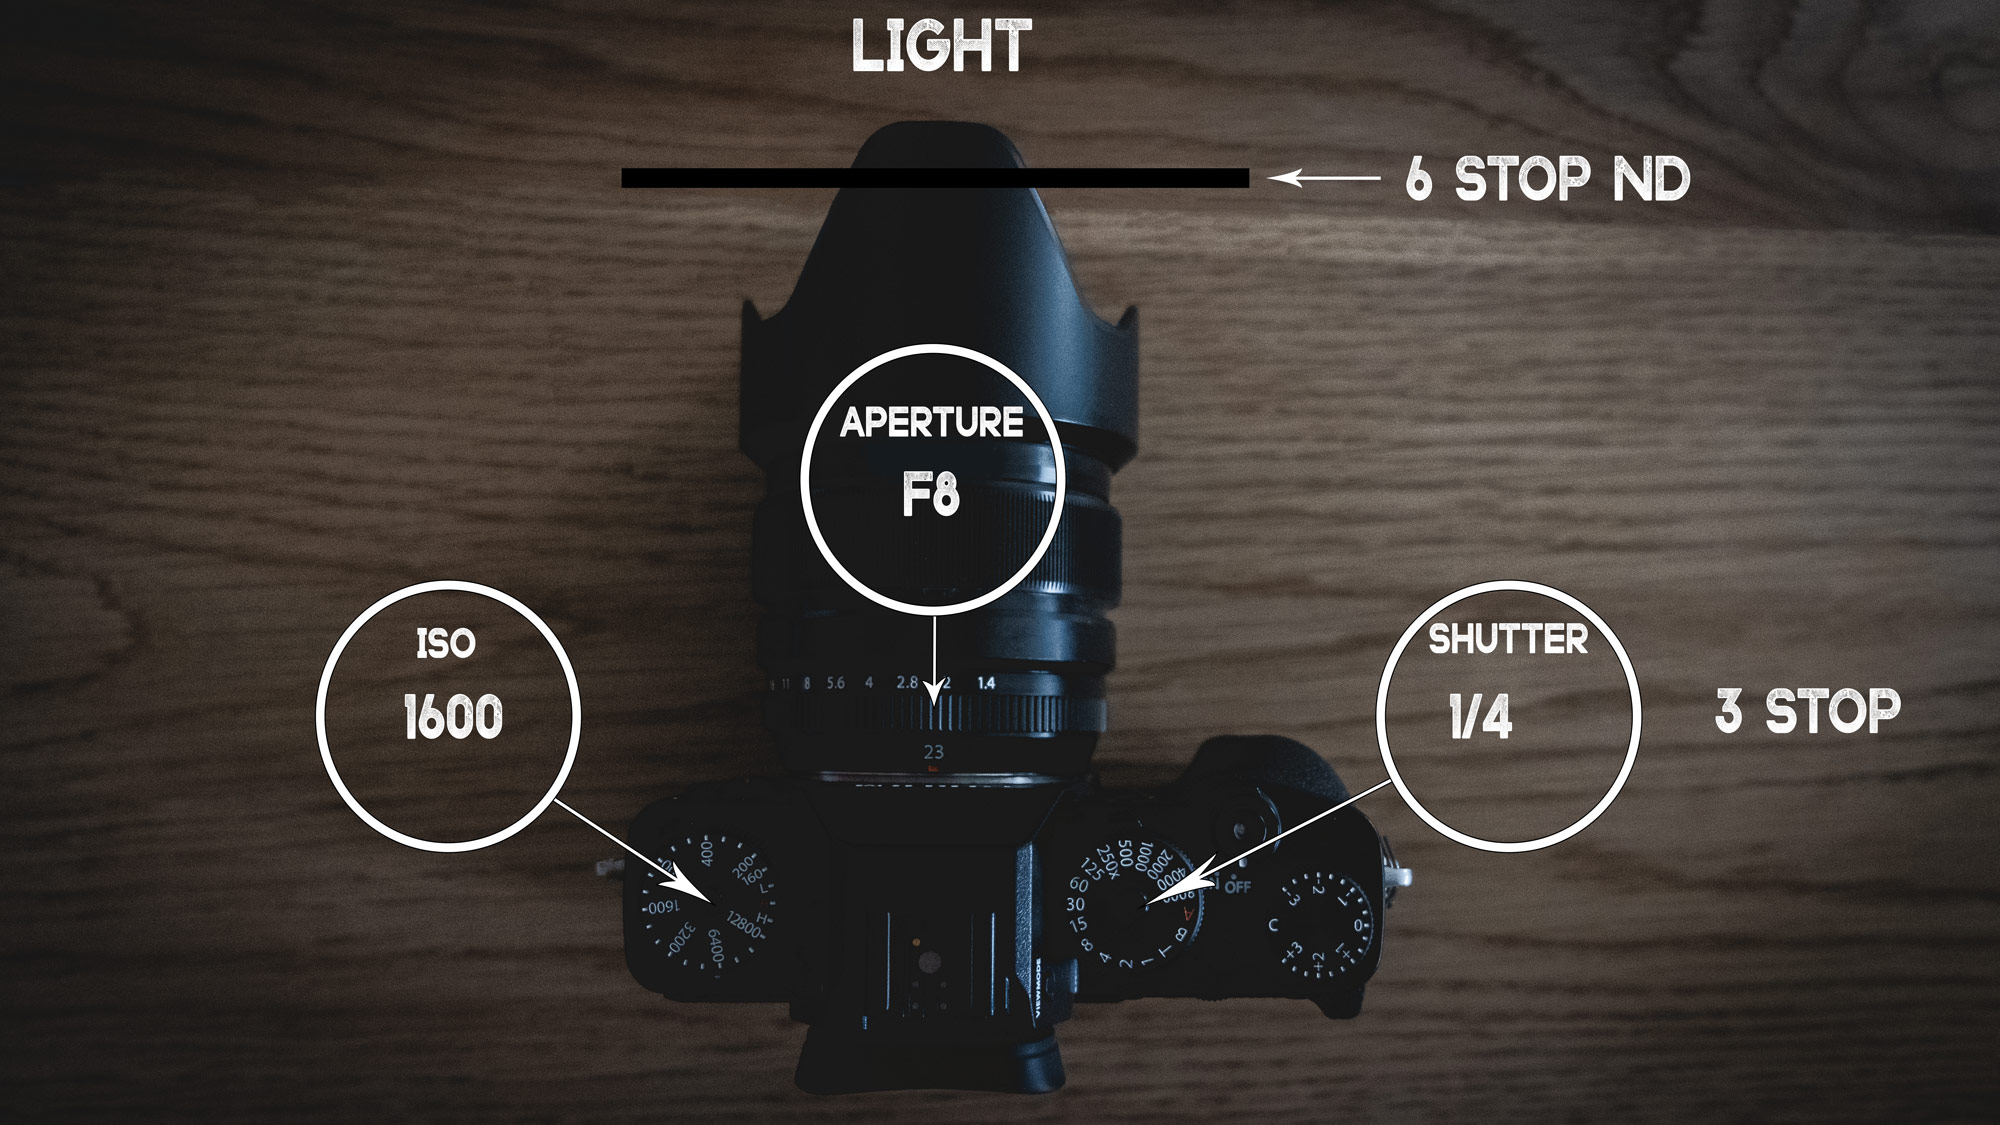
Putting a 6 stop ND filter on the front of the camera will reduce our shutter by 6 stops of light. So if our unfiltered shot was 1/30sec adding a 6 stop ND filter would take our shutter speed to 2 seconds for the correct exposure.
Say though we didn't want that really dreamy, milky look, we just wanted to add a little bit of motion blur to the water to help us retain the texture. Well, our option would be to add a 3 stop filter instead which will give us a 1/4 of a second exposure time for our example.
Now filters are expensive things and I personally do not have a 3 stop. I have a 10 and 6 but the thought of paying out more money and carrying more wait for a 3 stop is a little off-putting. So what I do in this situation is just increase my ISO up 3 stops. Whilst using the 6 stop filter, this will give the same result with a 1/4 of a second shutter, just with a little more noise but at iso 1600 it so negligible that you cannot really see it, unless you are pixel peeping of course.
Potentially you could do the same with a 10 stop filter and use your ISO to increase the number of stops of light if required, but one thing to mention is that the longer the exposure time the more likely you are to notice the noise in the image. Shooting towards the direct sunlight will also intensify the amount of visible noise as will pushing your post processing too. So just a few things to look out for.
You could also increase your F number by 3 stops and take the filter off all together. This would give us the same 1/4 of a second exposure time for our example.
It is worth noting that using very high f numbers such as f22 can cause lens diffraction. This happens when the aperture of the lens is very small and can result in a softer image than increasing the iso, but again experimenting with your settings will yield the best result.
So, as a rule, keep your iso as low as possible but don't be afraid to use it when necessary. ISO is a wonderful tool to use in the correct circumstances. If you would like to learn more about ISO, take a look at the video below and don't forget to subscribe for weekly landscape photography content.
As an Amazon Associate I earn from qualifying purchases.


